DIY Plastering Step-by-Step Guide

Plastering a wall is often done by professionals. However, anyone who is confident enough to undertake minor DIY projects can plaster a wall by following methodical steps and using the right tools. If you take time to learn the process and know your way around construction, it is likely that you will be able to succeed in a renovation project that involves plastering.

The first step to the process is to ensure that you have a complete set of tools and materials. Don’t forget some small but essential materials such as brick tape. Aside from rendering supplies and plastering supplies, make a checklist to include some of the most important tools and materials. If you are working outdoors, you may also need a temporary downpipe.

Guide to wall plastering

Once you have gathered all the materials, then you can proceed with the steps to plastering.

  1. Preparing your work area. You need to make sure that you have a spacious and clean area to work in. Move away any furniture that may get damaged in the process. You can also lay dustsheets on the floor and over other fixtures you want to protect. Don’t forget to secure the dustsheet using tapes. You can use any kind of tape like protection tape or duct tape.
  2. Applying bonding agent. The next important step is to apply a bonding agent like PVA to the wall. Bonding agent helps plaster to evenly dry out after application.
  3. Mixing the plaster. You need to take some precautions before mixing plaster material such as wearing a mask. A professional tip is to mix plaster into the water and not water over plaster. The consistency of plaster should be like thick custard. You also have to ensure that the mixture is not lumpy.
  4. Applying plaster. Make sure that you are marking areas for plastering using a stucco tape. This can also guide you in applying the plaster more evenly. When applying plaster, begin at the very top and work your way to the bottom. If you are not an expert in the application, you can start with small amounts until you start to get the hang of it.
  5. This step is done to smoothen the first layer of plaster. You should allow the plaster to dry for a bit before using a trowel or a straight edge to smoothen any bumps or lumps.
  6. This step is considered optional, but this can be done to remove roughness before adding a secondary coat of plaster. Scraping also helps the second layer of plaster to adhere better. You can use a special tool called a devilling float or even a fork.
  7. After applying the second or final coat of plaster, you need to finish up the work by spraying water over the surface then use a trowel to finish up and smoothen the surface. Instead of a trowel, you can also use a wet sponge or brush.

Following these steps should help you achieve a successful plastering project. You can find additional tips online from professional plasterers who are willing to share their tricks of the trade.

Why Shower Cubicles Are a Sensible Choice

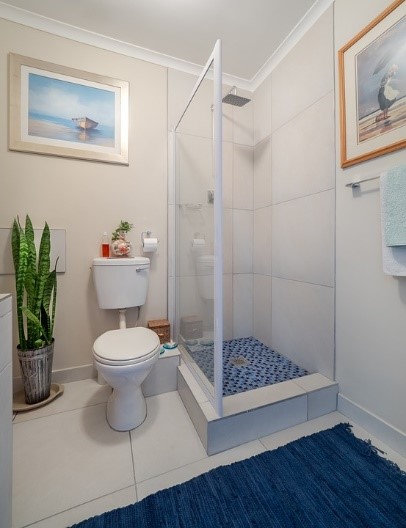
One of the most popular innovations in bathroom design and construction is a shower cubicle. These come pre-fabricated and easy to install. For homes with limited space, it makes more sense to have a shower cubicle than a built-in bathtub.

There are other considerations when it comes to deciding whether you need a shower or a tub. Is it for a family home with elderly and with kids? Do you live a fast lifestyle where you don’t necessarily have time to take long baths? Do you live in a small flat with an equally small bathroom?

While a shower pod is certainly a sensible option, there are still some factors to consider before jumping into making a purchase.

Available space

It is important to emphasize that cubicles are suited for bathrooms with limited space. There are shower pods that can fit into a corner giving enough leg room for the toilet, vanity, and other fixtures. A shower pod is also ideal if there is more than one person who will use the bathroom at a time. While someone is taking a shower, another person can make use of other bathroom amenities to save time.

Ease of maintenance

If you live a busy life, you are less likely to have a lot of time for cleaning and tidying up your home. Shower cubicles are easy to clean and maintain. You only need to wipe it down with detergent and keep the floor free from scum and debris. Make sure that you are buying a shower pod made with good quality glass that does not accumulate stains from personal hygiene products and water.

Convenient and efficient

Most shower cubicle models come with built-in storage area within the pod. This is a space-saving feature and saves you the time of having to go in and out of the shower to get what you need. You can also find custom shower pods with additional features such as water jets and steam. If you want to afford a bit of luxury and style, you can choose a pod with some of these features.

For someone who is looking to save on the cost of shower installation, you may be tempted to buy a cheap shower cubicle. There is a danger in choosing the lowest price point as the quality of the materials may be compromised. It is better to look for mid to high price points to ensure that you are making a wise investment.

There are a lot of suppliers out there, and choosing from among them can be overwhelming. If you have the time, try to inspect the product personally before making an order. You can also ask for advice from a contractor or an expert installer so that you know exactly what you get. You should also be aware of the existing plumbing in your home and if it will be compatible with the mechanisms of your purchase. Ideally, the shower pod should be installed easily without requiring you to make any adjustments to your plumbing.

4 Benefits Of Regular Drain Inspection

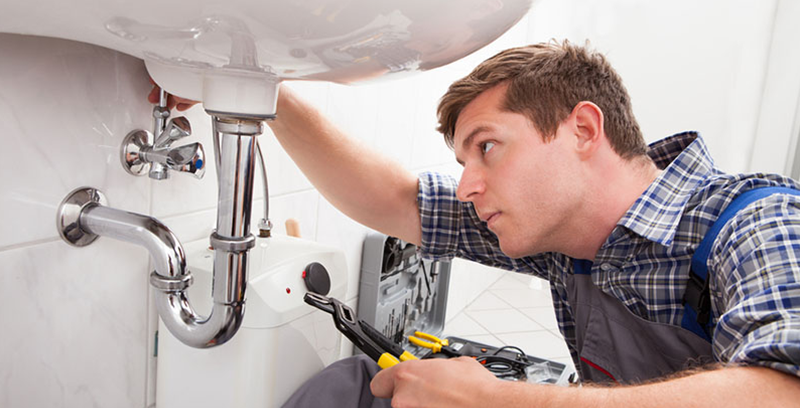
Many people do not think of getting their drains inspected and this can lead to a number of different problems. Due to the fact that drains can have many problems, plumbing companies offer sophisticated methods of drain inspection, such as using cameras, so that’s definitely the way to go if you suspect your drains might be clogged or damaged. If you call a plumber, you will save on cost and catch the issue before it causes home damage and even health risks. Here are 4 benefits of regular drain inspections.

Lower Risk of Leaks
When you have a plumber come out to your home to do drain inspections in the Toronto area, he or she will do a thorough check of your drains. They will inspect for any leakage and ensure that the pipe drain is secure. If you do not have your drain inspected, it could lead to leaks, which could impact your flooring as well as your foundation – many homeowners have ignored their drains only to find later that they must replace their flooring or have foundation repairs.

Lower Chance of Odours
Over time, debris can build up in your drain line and cause some bad smells, which can in turn start to permeate throughout your home and you may not know exactly where they are coming from. People have spent many days looking for the source of the stench, never being able to find it, which is doubly embarrassing if you’re planning on inviting over guests this summer. For this task, you’re going to want the best plumber Toronto has to offer to come in and inspect your drain, getting rid of any debris that may be causing the odour – who wants to live in a stinky house, after all?

Detecting and Removing Blockages
You may think that your plumbing is fine and that it does not have any blockages, but the truth is that it very well could: the blockage may just not be severe enough yet to cause problems. During a drain inspection, your plumber will look through your pipes and detect any issues with blockages, and once detected, these blockages can be removed quickly, saving you time and money.

Detecting Corroding Pipes
Over time, your pipes can begin to corrode. Corroding drainpipes can lead to leaks and the eventual failure of your drainpipe, and you may run into some extensive repair and expense if you leave this issue. In some cases, people have not noticed the corrosion in their drains until the drain fails, and dirty dishwater comes out all over their floors, which sounds like an absolute nightmare to clean up, in addition to being dangerous to your health and detrimental to your floors.

If you want to save money and ensure that your plumbing drains are working properly, you should call a plumber to do a drain inspection. These inspections will help to determine whether your drains are functioning at optimal capacity. Failure to have a drain inspection can leave you with an expensive repair bill, so save money and set up a drain inspection today.

How To Choose The Right Floor For Your House

Sometimes it can be difficult to give your house a makeover. As exciting as a redecoration project is, there are a few things you have to consider before getting started. One thing people can sometimes neglect to think about is the floor, but your floor is actually a great way of creating a base within your decor. For this reason you should choose flooring carefully, so, let’s have a look at some aspects you should consider when choosing a floor.

Durability

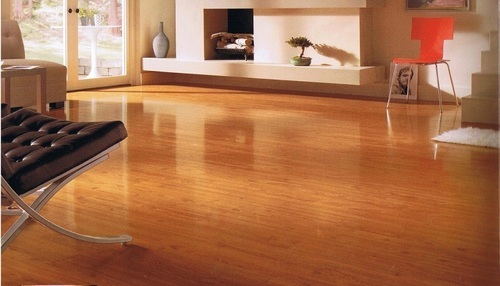
When we say durability we are not only talking about life span, but also the floors capability of withstanding heavy footfall. If you have family and and or pets in the house then your floor should able to handle all this extra traffic, possible scratches and maybe spillages. Hardwood flooring is surely the first option it comes to your mind, this floor can last more than a lifetime and they look beautiful in living rooms and bedrooms. For kitchens and bathrooms though you need something that is able to withstand water and possible moisture, so avoid using a natural solid wood in these rooms.

Budget

Most of us are trying to cut back where we can, so redecorating can feel like a struggle when money is your biggest hurdle. Fortunately, you don’t need to spend lots of money to find quality floors. One such floor is a laminate. Laminates are made of synthetic materials but as such are perfect if you are looking for something that looks like real wood but offers plenty of other practical benefits. If you are looking for something even cheaper, try vinyl floor tiles. Vinyl often gets a bad reputation for looking cheap, but with modern advancements, vinyl floor tiles now have a far more realistic look about them.

Maintenance

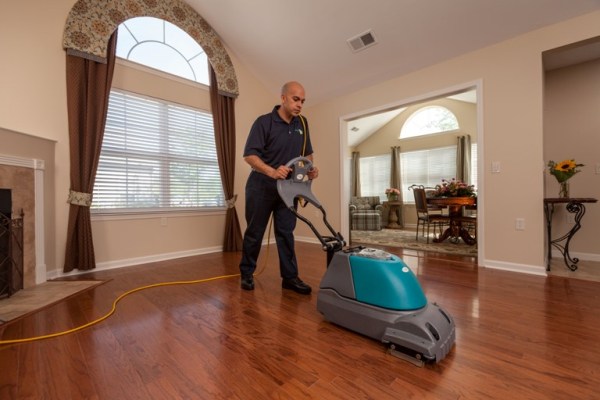
A floor that is difficult to maintain and clean can make you regret your choice, no matter how beautiful and great it looks.  With your job, your family and all the little things in daily life the last thing you need is to have to spend hours cleaning a floor. Vinyl, laminate or engineered are the easiest floors to clean as they are all somewhat impervious to water. This doesn’t mean they are waterproof, but it does mean they can be mopped with a damp mop without fear of water damage.

Colours

When decorating your house the floor is going to be one of the more static elements in the house. In other words, it is much easier to change other pieces of furniture compared to the floor. This is why its important to pick a colour you feel will be far more workable to your tastes in the future. Whether this be a light or dark wood, the choice is up to you and your tastes.


DIY Home Decor Ideas

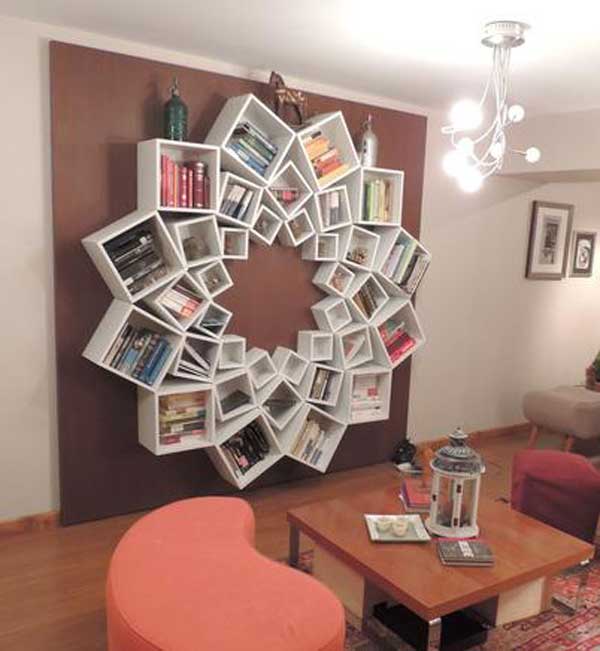
Accessorizing your home with chic accents doesn’t have to be expensive or time-consuming. In as little as one hour or as much as a weekend, you can brighten any room—even the bathroom—and leave family and friends admiring your creativity. Here are five projects to get you started. For more ideas, see the sources at the end of this article.

Geometric Rugs – Start with a plain flat-weave or sisal rug and add to it your favorite geometric design—stripes, triangles, diamonds, triangles, or whatever comes to mind. Use painter’s tape to map the design on the rug, and then paint the rug with your choice of interior wall paint. When the paint is completely dry, peel off the tape, stand back, and admire a job well done.

Veggie Art – This project makes unique wall art for any room. But no, you won’t be cutting up veggies and framing them. You’ll be using them as a paint stamp. Start by cutting a few stalks of bok choy or celery two to three inches from the bottom. Wipe off as much moisture as possible, and then let the stalks dry for one hour. Grab a paint canvas and two cans of crafts paint in the same color but of different hues. Pour some of the darker hued paint onto a paper plate. Dip the end of the bok choy or celery into the paint, and press the paint end of the stalk on the canvas as if using a stamp—wherever and in whatever orientation you choose. When the paint is dry, repeat the process with the lighter-hued paint. Overlap the colors, as you like.

Lace Doily Bowls – If you don’t have any lying around the house, check flea markets and antique stores for lace doilies in a variety of sizes and shapes. Prepare a mixture consisting of one-part crafts glue and one-part water. Dip a doily into the mixture. Smooth the doily over an upside-down glass bowl, using your hands to ensure that the bowl is covered. After the doily has dried, gently peel it from the bowl. You now have a repurposed storage vessel to hold some of your timeless treasures.

Ombre Furniture – Turn the drawers of a ho-hum dresser into an ombre beauty with this project. Grab a can of paint in a color of your choice along with another can of white paint. Use the white paint to make various hues of the colored paint. If you would rather not mix paint, grab a can of paint in each of the hues on a paint-chip card. Paint the top drawer with the lightest hue. Use the next darker hue for each subsequent drawer. The bottom drawn should be in the darkest hue in your palette.

Dip-Dyed Accessories – Perk up drab cotton curtains, place mats, napkins and pillowcases with a dip into a pot of fabric dye in the color of your choice for a color-popping two-toned look. It’s simple. Just dunk the fabric in the dye, remove it, and wait for it to dry, and you’re ready to go.